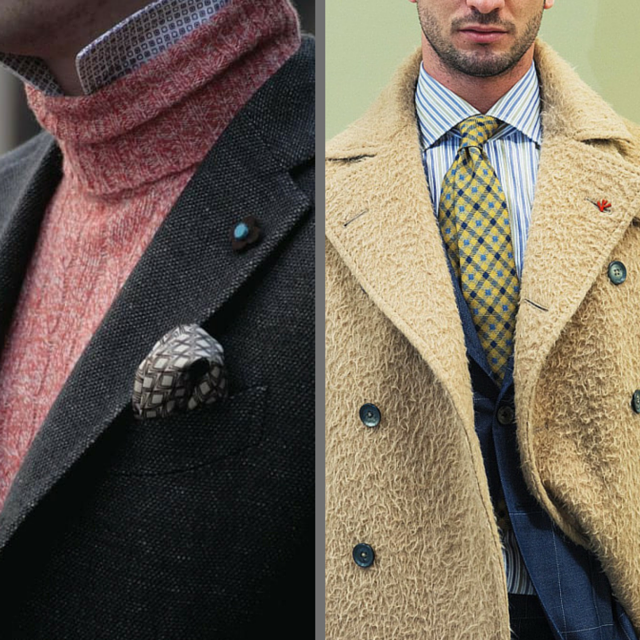
Pants are overlooked.
As I stated last week the role of the pant is a supporting one; the jacket undeniably being the star of the show. Even other supporting characters like shirts and accessories get more attention as easy ways to add a bit of pop to a look. No more – it’s time for pants to get their due!
Stylistically pants ground and set the tone for an outfit. They’re also the workhorse – you can undo a jacket or loosen a collar but a pant is always worn to its fullest. For these reasons a perfect fitting pant is crucial. Today is the second post in a three-part series on how to achieve exactly that perfection.
Part II – Get the waist, seat + hips and thigh right.

Where do you start?
Always start with the seat. In tailoring a pant is based off the seat measurement as opposed to the waist. The seat represents the widest part of the body thus we first establish the width at this level and then shape the area above (waist) and below (thigh) as much as necessary.
Likely this is opposite to every pant purchase you’ve made as standardized clothing is based off the waist and outseam length measurements. This is a major problem as there is essentially no standard waist to seat ratio. The result is that most guys have a choice to make; fit for the waist and have tightness through the seat verses fit for the seat and have a loose waist. The debate is over – fit the pant to the seat and then alter for the waist.
What makes a good fit?
It’s a combination between the actual dimensions of the pant and the aesthetic of its style.
Undoubtedly the best dressed guys base their style decisions off the their body type. They understand what works for them and what their limitations are. In other words; just because you appreciate a certain look and style doesn’t mean you should be wearing it.
Also keep in mind the influence of fabric. Wool is light, airy and fluid in terms of its natural drape. Cotton on the other hand is heavier and doesn’t have the same fluidity in its movement. It will also stretch and ‘bag out’ in a way that wool will not. This means we generally cut cotton closer to the body to allow it to take the shape of the wearer. With wool we cut slightly looser due to the lack of stretch but also because it’s visually lighter.
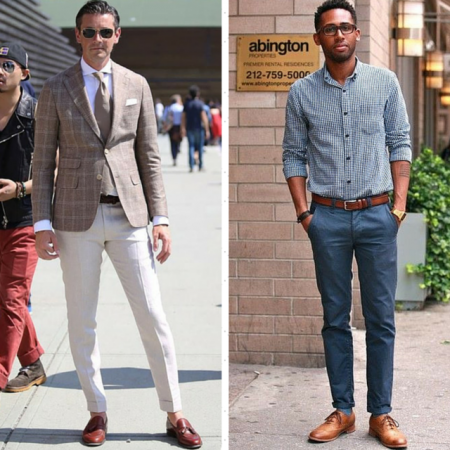
The seat & hips
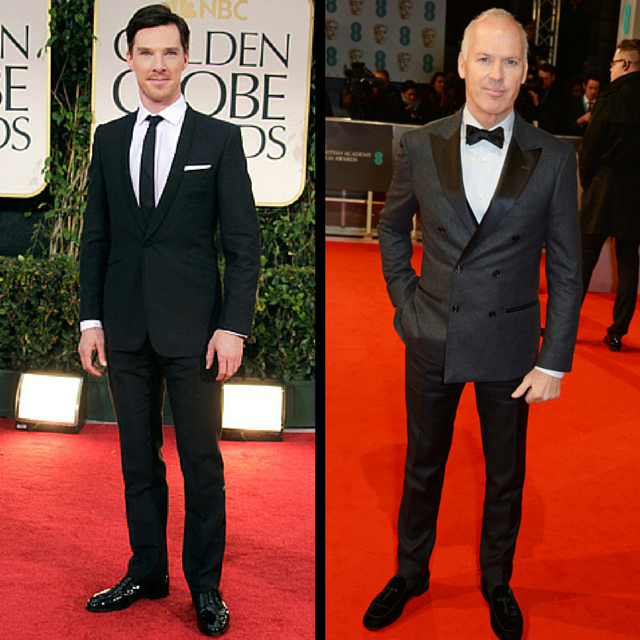
Irregardless of style and cloth a pants fit through the seat should remain relatively the same. Due to the anatomy of our backsides it’s expected that we’ll fill out the seat area of our pants. That said there should be adequate coverage with no sign of strain at the middle seam nor any pulling from the sides and pocket area. Equally there should also be no extra fullness pooling in these areas. As a test you should be able to easily grab an inch or so of cloth between your forefinger and thumb at the widest part of the seat. The image below right is a great example.

Also critical is what’s happening on the front of the pant at this level – see the above left image for a good fit. The ‘filling out’ effect can never happen at the front – this is from a style and comfort point of view as well as out of respect for the general public. As discussed in Part I the hips are in constant motion so this is an area of high tension. Adequate ease is crucial at the front hip area or else the pockets will flare and you won’t be able to fit anything into the front pockets. Too much cloth though and you look sloppy.
To assist you here are some rough numbers as a guide; to figure this out simply measure your pants at the widest point of the seat and compare them to your own seat measurement. With wool the seat of the pant should measure between 2 – 2.75″ more than your actual seat measurement. With cotton it should measure 1.5 – 2.25″ more.
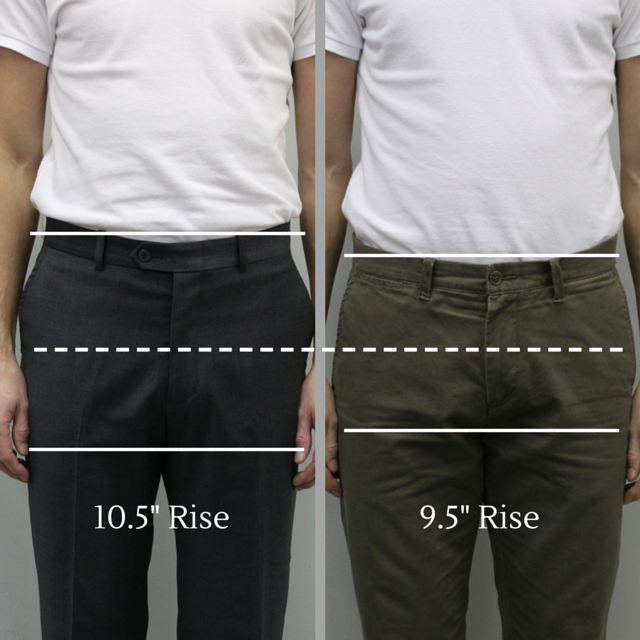
The waist
Ultimately the waist should sit comfortably exactly where its designed to sit – be it at the natural waist or lower towards the hips. What determines comfortable comes down to personal preference – as a guide I usually cut pants a half inch bigger than a clients actual waist. It’s about one finger of room – just enough so that things aren’t tight when you’re sitting, but firm enough that it’s locked in place when standing and moving. Keep in mind that a pant shouldn’t need a belt – it’s decorative as opposed to functional.
A special note for those of you with small or flat seats. Typically two things happen in this case; the first is that the waist will always drop at the back creating a roll of excess fabric right below it. The second element has the area behind your quads collapsing which leads to a pool of cloth in the back and inner thigh area. To deal with this effect when I make the pant I’ll simply reduce the height at the back – this eliminates the excess by pulling everything up and off the back of the quads. Easy enough when making the pant from scratch but definitely something you can alter even if you’re buying off-the-rack – it may cost a bit but it’s necessary and worth it.
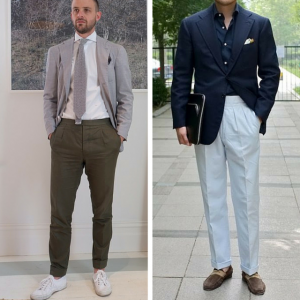
The thigh
The thigh is crucial to get right as it has a massive impact on both comfort and style. It must be noted that as silhouettes get trimmer and trimmer it becomes quite tricky to get that balance absolutely perfect.
The first thing to keep in mind is that all of us have to sit down – be it for short periods in a car or for long stretches at the office. This leads to an expansion of the quads that simply needs to be accounted for in the width of the thigh. I mention this because consistently I meet guys who want a very trim look through the thighs only to find sitting very difficult. The reality is that your body and its dimensions dictate how trim you can go; know your bodies limitations and go from there.
Here are some rough numbers that will guide you in this process; keep in mind the importance of the impact of different cloths. With wool the thigh should measure between 3 – 4″ more than your actual quad measurement. With cotton – due to the fact that it stretches naturally – it should measure somewhere between 2.5 – 3.5″ more. These numbers will provide you with a trim style on the low side and a clean yet slightly more relaxed look on the high.

A fair amount to digest – as always let me know if you have questions or comments. Take care.
Michael