Whether you’re new to wearing suits or you’re a veteran of the game it’s always good to get a refresher on the keys to caring for your suits. These are the absolute basics and will keep your suits both looking crisp and in the best condition possible for a longer life. For a few other tips have a quick look at this earlier journal post from last year.
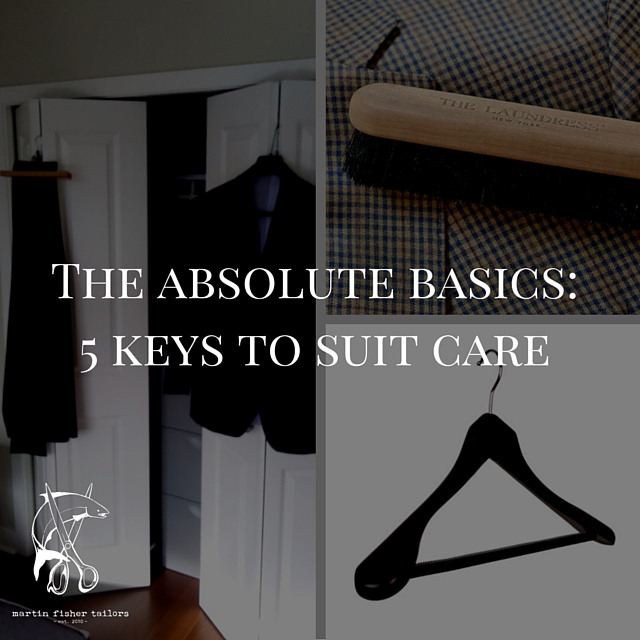
The Absolute Basics: 5 Keys To Suit Care
1. Proper Hangers
This one is easy – it’s just a matter of making it a priority and getting it done. Dress clothing is expensive and an investment thus you need to treat them exactly as such. Two hangers are needed:
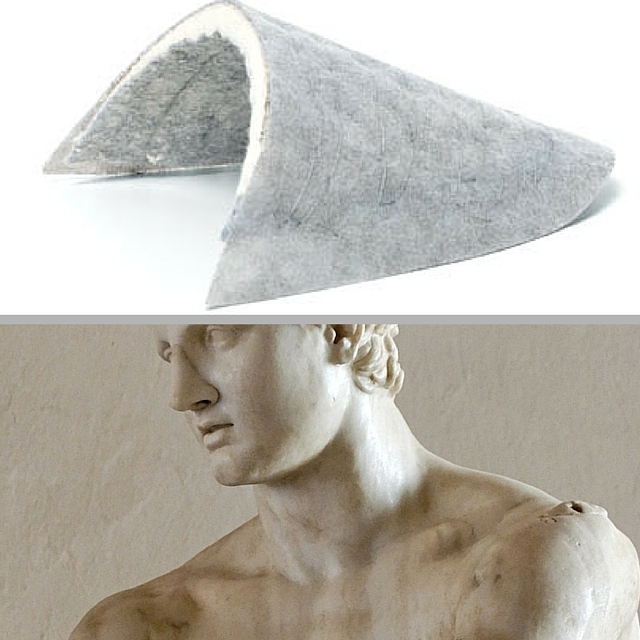
A) Jacket Hanger
Two keys here; firstly the width at the end of the hanger needs to be substantial coming in at a minimum of 2″ in width. This is necessary to support the shoulders of the jacket and enable the roundness of a perfect shoulder to be maintained. The second key is the actual length of the entire hanger; it needs to be long enough that the ends are supporting the shoulders but not too long whereby they push past the shoulder seam and distort how the sleeves fall.

B) Pant Hanger
Always folded along the center crease to maintain a crisp appearance and always hung upside down from the pant bottoms. Gravity combined with the fact that the waist band is heavier means the legs of the pants will be taut and hence the wrinkles and creases from daily wear will fall out of the pant.

2. Space
Giving your clothes room to breath is crucial – both right after use and in how they are stored. Nothing is worse than after a long day of use you cram your suit back into a tight closet for the days wrinkles and smells to remain firmly in place.
Instead begin by letting your clothes hang out in the open for awhile – ultimately by a window – and let air circulate around them. This will allow any heat and moisture from your body to dissipate and with it the associated smells. When it’s time to put them away the key is to again have some room to let them breath – a rough rule being to have one inch on either side enabling the garment to hang freely. Pay particular attention to jacket lapels – they get easily distorted and miss-shapen when pressed up against the back of another jacket.
3. Spot Clean
Any time you get a stain or spill something make sure you spot clean. Simply take a damp hand towel and carefully dab at the foreign substance. Be sure to avoid wiping and pushing the substance deeper into the cloth; rather use a twist and lift motion so as to ‘pull’ it out of the garment and into the hand towel. When done make sure you allow the area to completely dry and then lightly brush any remaining excess off.
Crucial – only after going through this process and it failing to lift the substance do you consider going to a dry cleaner to deal with a stain. The chemicals used in the dry cleaning process are very harsh and as such we should only dry clean our dress clothing 1-2 times a year at most.
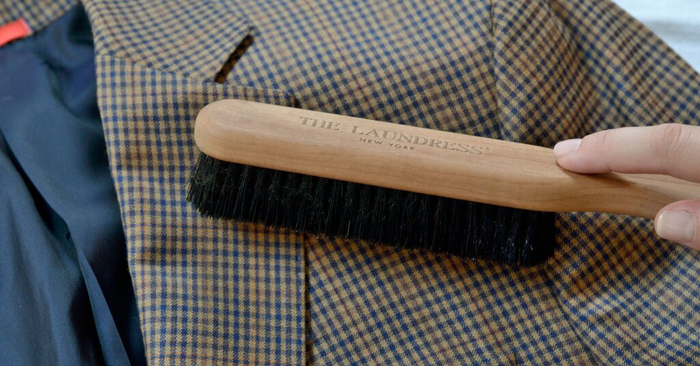
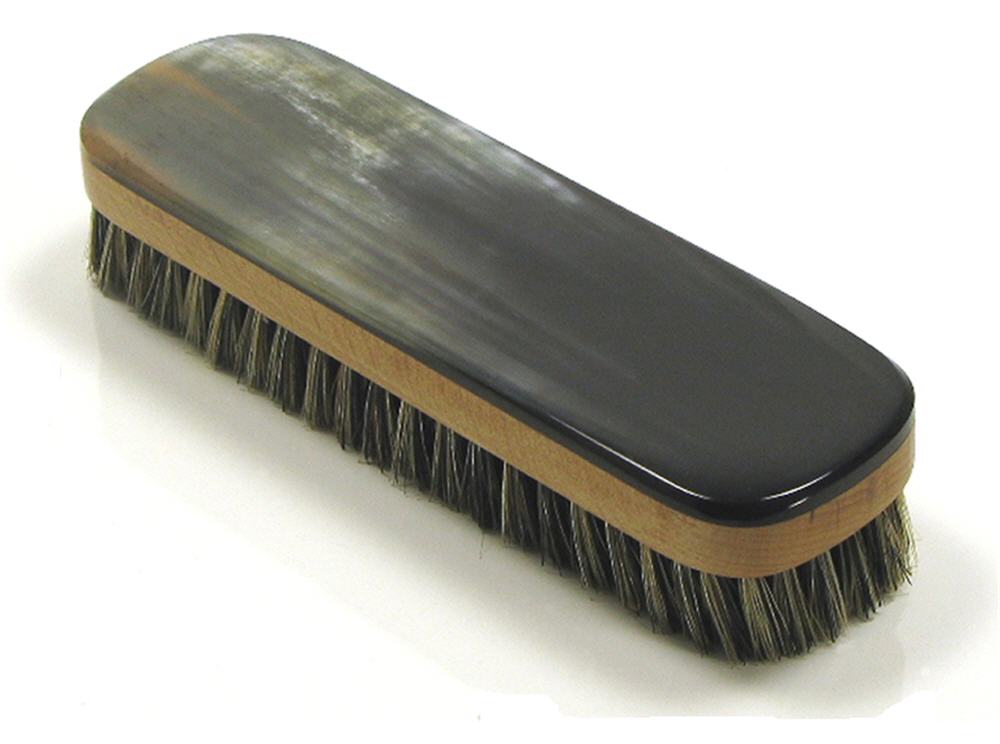
4. Brushing
The ultimate goal should be to brush down your suits after every use; reality though means this is unlikely thus let’s settle on every second wear. Brushing is crucial as it gets rid of the surface dust and grime that accumulates on the cloth in daily use. Failing to do so means over time the natural pores of the wool fibers become clogged and filled with these particles resulting in a lifeless and often dingy smelling cloth.
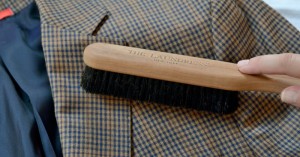
How? Go to any shoe store or cobbler and get yourself a five inch shoe brush with soft bristles made of hoarse hair. Lightly brush the coat after each use; start at the shoulders and work your way along the collar and down the lapels. Next look after the body of the coat before completing the process with the sleeves. As you do this you will visually see the cloth ‘perking’ up as the fibers are opened, cleaned and given room to breath. Think of it as the clothing equivalent of washing your face! As for the pants it’s much the same though pay particular attention to the seat and pant bottoms; it’s amazing what we sit on in a day and the amount of splatter that comes up off the ground as we walk.

5. Awareness
As you go through all of the above steps make sure to take a look at your clothes and keep tabs on their general wear and tear. Check under the arms and crotch area to see how the cloth is standing up to the inevitable rubbing, check on the stitches of the seat and across your blades for signs of stress, make sure all the threads of your buttons are firm and not starting to fray, etc. Being on top of the little things means we can address them before the become full blown problems and are much more difficult to deal with.
I hope this quick list helps – and inspires – you to take a touch more care with your clothing. As I stated at the beginning a wardrobe takes time, effort and funds to build thus maintenance and care are crucial for longevity. As always please don’t hesitate to get in touch if you have any questions. Better yet book a free appointment and we can banter in person and see if we might be a good fit to work together.
Take care – Michael
info@martinfishertailors.com